

Strawberry Red Velvet Crunch Cheesecake

Why This Strawberry Red Velvet Crunch Cheesecake is a Must-Try
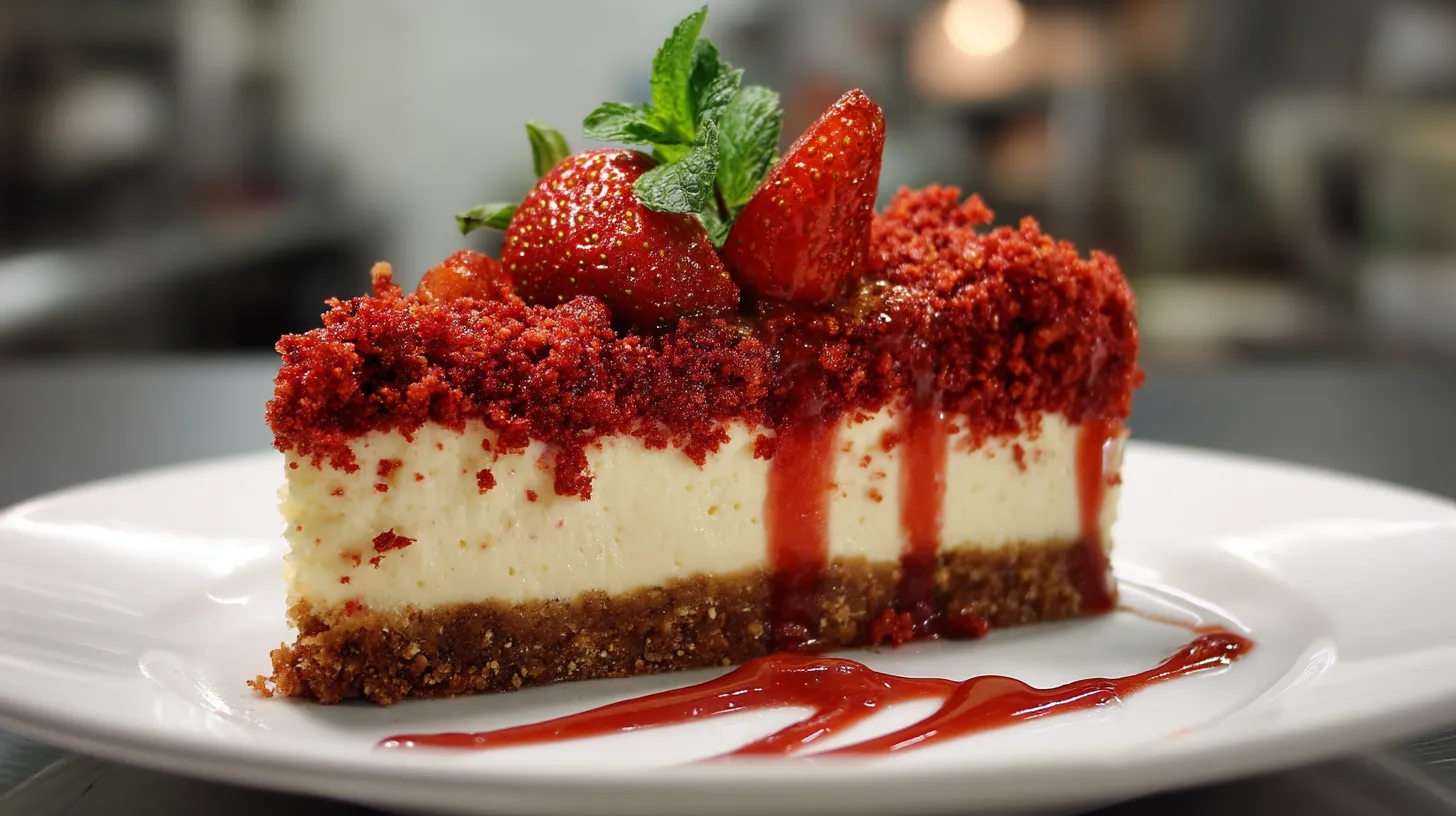
Okay, let’s talk about why this dessert is about to become your new obsession. Imagine this: You slice into a rich, vibrant red velvet base, the kind that practically melts in your mouth. Then, you hit a layer of unbelievably smooth, creamy cheesecake. And just when you think it can’t get any better, you get a burst of fresh strawberry flavor and a delightful crunch that ties everything together. Are you drooling yet? I know I am!
This Strawberry Red Velvet Crunch Cheesecake isn’t just delicious; it’s also a showstopper. Perfect for birthdays, holidays, or any occasion that calls for something truly special. Plus, it’s surprisingly easier to make than you might think. I’ve broken down the recipe into simple, easy-to-follow steps, so even if you’re new to baking, you can absolutely nail this. Let’s get started!
Ingredients You’ll Need
Before we jump into the instructions, let’s gather our ingredients. Here’s what you’ll need for each component of this amazing Strawberry Red Velvet Crunch Cheesecake:
For the Red Velvet Crust:
- 1 ½ cups all-purpose flour
- ½ cup granulated sugar
- ¼ cup unsweetened cocoa powder
- ½ teaspoon baking soda
- ¼ teaspoon salt
- 6 tablespoons (3 ounces) cold unsalted butter, cut into cubes
- 1 large egg
- 1 teaspoon red food coloring
- 1 teaspoon vanilla extract
For the Cheesecake Filling:
- 32 ounces cream cheese, softened
- 1 ½ cups granulated sugar
- 4 large eggs
- 1 teaspoon vanilla extract
- ½ cup sour cream
For the Strawberry Crunch Topping:
- 1 cup fresh strawberries, hulled and sliced
- ¼ cup granulated sugar
- 2 tablespoons cornstarch
- ½ cup crushed vanilla wafers or shortbread cookies
- 2 tablespoons melted butter
Step-by-Step Instructions
Alright, now for the fun part! Follow these steps closely, and you’ll have a Strawberry Red Velvet Crunch Cheesecake that’s sure to impress.
Part 1: Making the Red Velvet Crust
- Get Started: Preheat your oven to 350°F (175°C). Grease and flour a 9-inch springform pan. This will prevent the crust from sticking and make it easier to remove the cheesecake later.
- Combine Dry Ingredients: In a large bowl, whisk together the flour, sugar, cocoa powder, baking soda, and salt. This ensures that everything is evenly distributed.
- Cut in the Butter: Add the cold butter cubes to the dry ingredients. Use a pastry blender or your fingertips to cut the butter into the flour mixture until it resembles coarse crumbs. The colder the butter, the flakier the crust!
- Add Wet Ingredients: In a separate small bowl, whisk together the egg, red food coloring, and vanilla extract. Pour this mixture into the dry ingredients.
- Mix the Dough: Mix everything together until a dough forms. It should be slightly crumbly but hold together when pressed.
- Press into the Pan: Press the dough evenly into the bottom of the prepared springform pan. Use the back of a spoon or your fingers to create a smooth, even surface.
- Bake the Crust: Bake the crust for 12-15 minutes, or until it’s set and slightly firm to the touch. Let it cool completely before adding the cheesecake filling.
Part 2: Preparing the Cheesecake Filling
- Cream the Cream Cheese: In a large bowl, beat the softened cream cheese with an electric mixer until it’s smooth and creamy. This is crucial for a lump-free cheesecake.
- Add Sugar: Gradually add the sugar to the cream cheese, beating until well combined. Make sure there are no sugar granules left.
- Incorporate the Eggs: Add the eggs one at a time, beating well after each addition. Be careful not to over-mix at this stage, as it can cause cracks in the cheesecake.
- Add Vanilla and Sour Cream: Stir in the vanilla extract and sour cream until just combined. The sour cream adds a lovely tang and helps keep the cheesecake moist.
Part 3: Assembling and Baking the Cheesecake
- Pour the Filling: Pour the cheesecake filling over the cooled red velvet crust. Spread it evenly to ensure a consistent layer.
- Bake in a Water Bath: Wrap the bottom of the springform pan tightly with aluminum foil. Place the pan in a larger roasting pan and add hot water to the roasting pan until it reaches about halfway up the sides of the springform pan. This water bath helps to bake the cheesecake evenly and prevents cracking.
- Bake the Cheesecake: Bake in the preheated oven for 55-70 minutes, or until the edges are set but the center still has a slight jiggle.
- Cooling Process: Turn off the oven and let the cheesecake cool in the oven with the door slightly ajar for 1 hour. This gradual cooling helps prevent cracking. Then, remove the cheesecake from the water bath and let it cool completely on a wire rack before refrigerating.
- Chill the Cheesecake: Cover the cheesecake and refrigerate it for at least 4 hours, or preferably overnight. This allows the flavors to meld together and the cheesecake to set completely.
Part 4: Making the Strawberry Crunch Topping
- Prepare the Strawberries: In a medium bowl, combine the sliced strawberries, sugar, and cornstarch. Toss gently to coat the strawberries evenly. The cornstarch helps to thicken the strawberry juices as they bake.
- Make the Crunch: In a separate bowl, combine the crushed vanilla wafers (or shortbread cookies) and melted butter. Mix well until the crumbs are evenly coated.
- Assemble the Topping: Spread the strawberry mixture evenly over the top of the chilled cheesecake. Then, sprinkle the cookie crumb mixture over the strawberries.
- Chill Again (Optional): For the best texture, chill the cheesecake again for about 30 minutes before serving. This helps the topping set slightly.
Tips for the Perfect Strawberry Red Velvet Crunch Cheesecake
Baking a cheesecake can seem intimidating, but with these tips, you’ll be a pro in no time!
- Use Room Temperature Ingredients: Make sure your cream cheese and eggs are at room temperature. This helps them blend more smoothly and evenly, resulting in a creamier cheesecake.
- Don’t Overmix the Filling: Overmixing can incorporate too much air into the filling, which can cause the cheesecake to puff up during baking and then crack as it cools.
- Water Bath is Key: Don’t skip the water bath! It provides gentle, even heat that helps to prevent cracking and ensures a creamy texture.
- Cooling is Crucial: Allow the cheesecake to cool slowly to prevent cracking. The gradual cooling process is just as important as the baking itself.
- Be Patient: Resist the urge to cut into the cheesecake before it has had enough time to chill. Chilling allows the flavors to meld together and the cheesecake to set completely.
Variations and Substitutions
Want to put your own spin on this Strawberry Red Velvet Crunch Cheesecake? Here are a few ideas:
- Different Berries: Swap out the strawberries for raspberries, blueberries, or a mix of your favorite berries. Each berry will bring its own unique flavor to the topping.
- Chocolate Chips: Add chocolate chips to the red velvet crust or the cheesecake filling for an extra layer of chocolatey goodness.
- Oreo Crust: Use crushed Oreo cookies instead of the red velvet crust for a chocolatey twist.
- Liqueur Infusion: Add a splash of strawberry liqueur to the strawberry topping for a boozy kick.
- Cream Cheese Alternatives: Reduced-fat cream cheese can be used but may affect the richness of the cheesecake.
- Gluten-Free Option: Substitute the all-purpose flour in the crust with a gluten-free blend for a gluten-free version.
Serving Suggestions
This Strawberry Red Velvet Crunch Cheesecake is delicious on its own, but here are a few ways to take it to the next level:
- Whipped Cream: Serve with a dollop of freshly whipped cream for added richness and sweetness.
- Chocolate Sauce: Drizzle with chocolate sauce for a decadent treat.
- Fresh Berries: Garnish with extra fresh strawberries or other berries for a pop of color and flavor.
- Vanilla Ice Cream: Pair with a scoop of vanilla ice cream for a classic dessert combination.
How to Store Your Strawberry Red Velvet Crunch Cheesecake
If you have any leftovers (which I highly doubt!), here’s how to store them properly:
- Refrigerate: Store the cheesecake in an airtight container in the refrigerator for up to 5 days.
- Freeze: For longer storage, you can freeze the cheesecake. Wrap it tightly in plastic wrap and then in aluminum foil. It can be frozen for up to 2 months. Thaw it in the refrigerator overnight before serving.
Troubleshooting Common Cheesecake Issues
Sometimes, things don’t go exactly as planned. Here are some common cheesecake issues and how to fix them:
- Cracked Cheesecake: This is usually caused by baking the cheesecake at too high a temperature or not using a water bath. Make sure to follow the recipe instructions carefully and use a water bath to prevent cracking. You can also hide cracks with the strawberry topping!
- Lumpy Filling: This is usually caused by using cold cream cheese or overmixing the filling. Make sure your cream cheese is at room temperature and don’t overmix.
- Soggy Crust: This can happen if the crust isn’t baked long enough or if the cheesecake is stored improperly. Bake the crust until it’s set and store the cheesecake in an airtight container to prevent it from absorbing moisture.
The History of Red Velvet and Cheesecake
Ever wonder where red velvet cake and cheesecake come from? Let’s take a quick look!
Red Velvet: The origins of red velvet cake are a bit murky, but it’s believed to have originated in the Victorian era. The reaction between the acidic vinegar and buttermilk with cocoa powder created a reddish hue. The modern red velvet cake, with its vibrant red color from food coloring, became popular in the mid-20th century.
Cheesecake: Cheesecake dates back to ancient Greece! The modern version, as we know it, evolved in America with the invention of cream cheese. Cheesecake became a staple dessert, loved for its creamy texture and rich flavor.
Why Strawberries and Red Velvet are a Match Made in Heaven
The combination of strawberries and red velvet is a stroke of genius! The slight tanginess of the red velvet complements the sweetness of the strawberries beautifully. The vibrant red color of both ingredients also makes for a visually stunning dessert. The Strawberry Red Velvet Crunch Cheesecake is a testament to how well these flavors work together.
Healthier Alternatives and Modifications
Want to make this dessert a little healthier? Here are a few modifications:
- Reduced Sugar: Cut down on the amount of sugar in the cheesecake filling and strawberry topping. You can also use a sugar substitute like stevia or erythritol.
- Whole Wheat Crust: Use whole wheat flour for the red velvet crust to add some fiber.
- Greek Yogurt: Replace some of the sour cream with Greek yogurt for a protein boost.
- Fresh Fruit Focus: Increase the amount of fresh strawberries in the topping and reduce the amount of cookie crumbs.
Making it Ahead: Time-Saving Tips
If you’re short on time, here are some tips for making this cheesecake ahead:
- Bake the Crust in Advance: The red velvet crust can be baked a day or two ahead of time. Just store it in an airtight container at room temperature.
- Prepare the Filling: The cheesecake filling can also be made a day in advance. Store it in the refrigerator until you’re ready to assemble the cheesecake.
- Assemble the Cheesecake: You can assemble the entire cheesecake (without the strawberry topping) a day ahead and chill it overnight. Add the strawberry topping just before serving.
With a little planning, you can break this recipe down into manageable steps and save yourself some time in the kitchen. Remember to use a good quality cream cheese to give the best results for your Strawberry Red Velvet Crunch Cheesecake.
Final Thoughts on This Decadent Dessert
This Strawberry Red Velvet Crunch Cheesecake is more than just a dessert; it’s an experience. It’s a celebration of flavors, textures, and colors that come together in perfect harmony. It’s the kind of dessert that makes people say “wow” and ask for seconds (and thirds!). So, gather your ingredients, put on your apron, and get ready to create something truly special.
Thank you for being here! I’m so glad you’re here. If you enjoyed this recipe or found it helpful, feel free to share it with your friends and family—great food is meant to be shared! Don’t forget to follow me on Facebook and Instagram for more delicious recipes, kitchen tips, and daily cooking inspiration. Your support means the world to me, and I look forward to bringing you even more tasty ideas straight from my kitchen.Can I make this cheesecake without a springform pan?
While a springform pan is ideal for easy removal, you can use a regular cake pan. Just make sure to line it with parchment paper, leaving an overhang to lift the cheesecake out after baking.
What can I use if I don’t have red food coloring?
You can use beet juice for a natural alternative, although it will result in a slightly different color. Alternatively, you can omit the red food coloring altogether – the crust will still taste delicious!
Can I freeze the entire Strawberry Red Velvet Crunch Cheesecake?
Yes, you can freeze the entire cheesecake. Wrap it tightly in plastic wrap and then in aluminum foil. It can be frozen for up to 2 months. Thaw it in the refrigerator overnight before serving.
How do I prevent my cheesecake from cracking?
The best way to prevent cracking is to use a water bath and cool the cheesecake gradually. Avoid opening the oven door frequently during baking.
Can I use frozen strawberries for the topping?
Fresh strawberries are preferred for the best flavor and texture. Frozen strawberries tend to release more water, which can make the topping soggy. If you must use frozen strawberries, thaw them completely and drain off any excess liquid before using them.
Print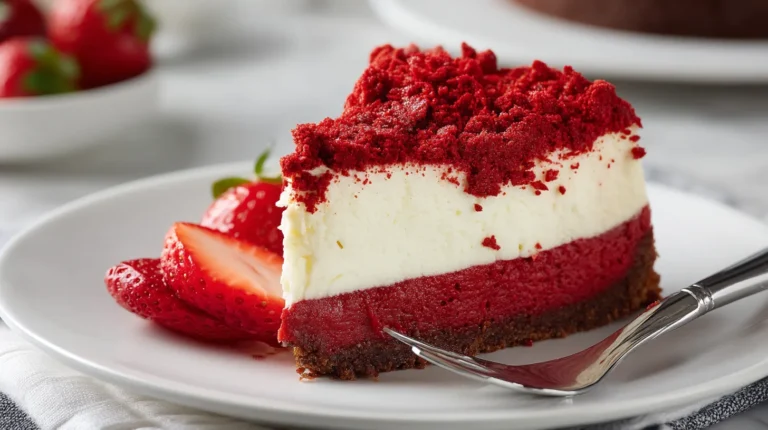
Strawberry Red Velvet Crunch Cheesecake Decadent Dream
Indulge in Strawberry Red Velvet Crunch Cheesecake This decadent dessert blends rich red velvet creamy cheesecake w a satisfying crunch
- Total Time: 6 hours 0 minutes
- Yield: 12
Ingredients
Instructions
- Prep Time: 30 minutes
- Cook Time: 1 hour 10 minutes
- Category: Dessert
- Cuisine: American
Nutrition
- Calories: 450 kcal
- Sugar: 35 g
- Fat: 25 g
- Carbohydrates: 50 g
- Fiber: 1 g
- Protein: 6 g