
Red Velvet Oreo Cake Jar Recipe
Welcome to my kitchen! I’m Nyla—a chef with a true love for creating recipes that not only taste amazing but also bring people together. This website is where I share my favorite dishes, cooking tips, and step-by-step guides to help you enjoy the process as much as the result. Whether you’re a beginner or a seasoned home cook, you’ll find inspiration here to make every meal special! And what better way to make it special than with a Red Velvet Oreo Cake Jar Recipe? This delightful treat combines the classic flavors of red velvet cake with the irresistible crunch of Oreo cookies, all layered beautifully in a jar. It’s perfect for parties, gifts, or simply a sweet indulgence just for yourself.
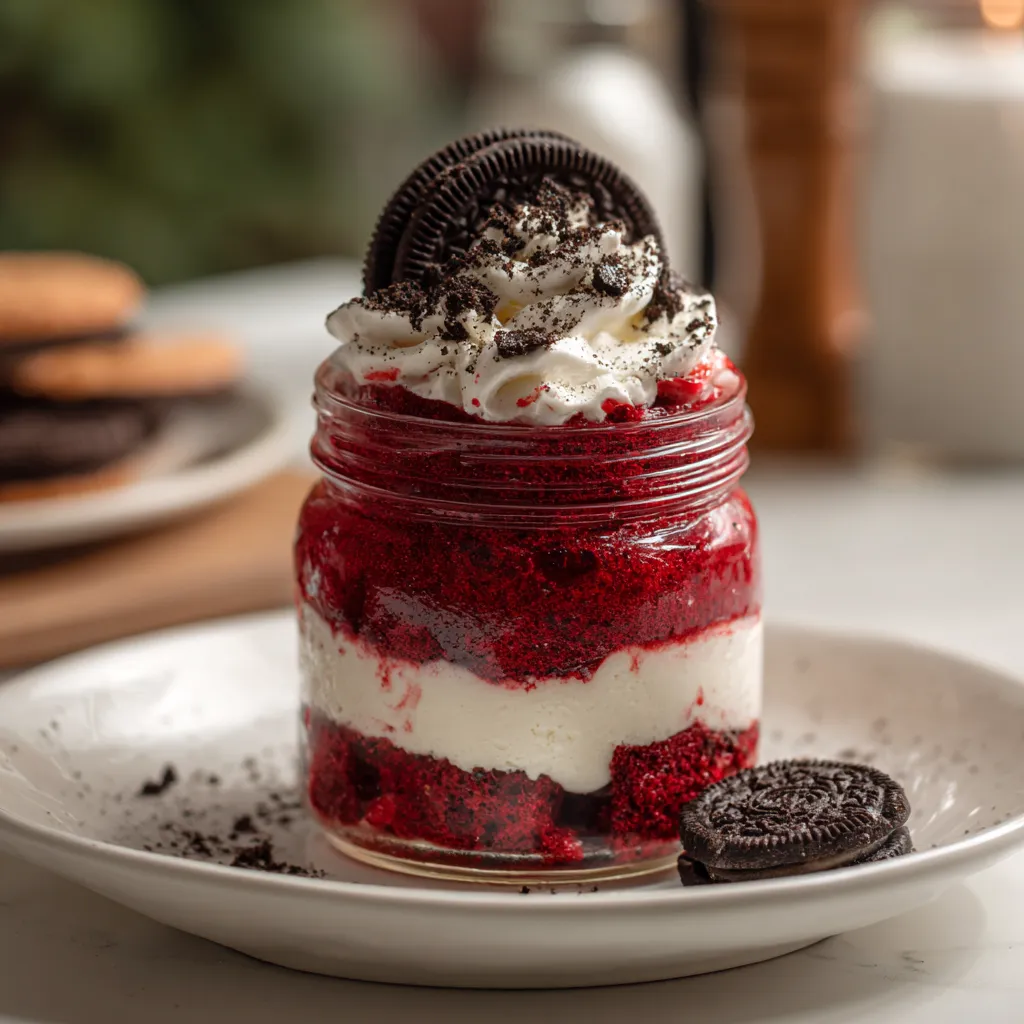
Imagine biting into moist, tender red velvet cake, swirled with creamy frosting and studded with chunks of everyone’s favorite chocolate sandwich cookie. This isn’t just a cake; it’s an experience. It’s the perfect dessert to brighten any day or celebrate any occasion. So, grab your apron, and let’s get baking!
A Brief Overview of This Red Velvet Oreo Cake Jar Recipe
This Red Velvet Oreo Cake Jar Recipe is all about convenience and deliciousness. It takes the traditional red velvet cake and transforms it into an easy-to-make, portable dessert. The beauty of cake jars lies in their simplicity; no need for perfect slices or elaborate decorating. You get all the flavor and satisfaction of a classic cake in a fun, individual serving. Think of it as deconstructed cake, where every spoonful is a perfect combination of textures and tastes.
The recipe uses simple ingredients and straightforward steps. We start with a basic red velvet cake mix, which provides the perfect base for our cake. Then, we add a homemade cream cheese frosting, the iconic pairing for red velvet. And, of course, the star of the show: Oreo cookies. Crushed and layered between the cake and frosting, they add a delightful crunch and chocolatey flavor that complements the red velvet beautifully. This Red Velvet Oreo Cake Jar Recipe is designed for ease and enjoyment, so don’t worry if you’re not a baking pro.
Ingredients You Will Need
Before we dive into the baking process, let’s gather all the necessary ingredients. Here’s a list of what you’ll need to create these irresistible Red Velvet Oreo Cake Jar Recipe:
- For the Red Velvet Cake:
- 1 box (15.25 oz) Red Velvet Cake Mix
- Eggs, oil, and water as called for on the box
- For the Cream Cheese Frosting:
- 8 oz Cream Cheese, softened
- 1/2 cup (1 stick) Unsalted Butter, softened
- 4 cups Powdered Sugar
- 1 teaspoon Vanilla Extract
- 2-3 tablespoons Milk or Cream
- For the Oreo Layer:
- 1 package (14.3 oz) Oreo Cookies, crushed
- Other:
- Jars or glasses for layering
Make sure all your ingredients are fresh. Softened cream cheese and butter are crucial for a smooth, lump-free frosting. And don’t skimp on the Oreos; they’re what make this Red Velvet Oreo Cake Jar Recipe truly special!
Step-by-Step Instructions for the Red Velvet Oreo Cake Jar Recipe
Now for the fun part: putting everything together! Follow these step-by-step instructions to create your own delicious Red Velvet Oreo Cake Jar Recipe:
- Bake the Red Velvet Cake:
- Prepare the red velvet cake mix according to the instructions on the box.
- Bake in a 9×13 inch pan or as directed on the box.
- Let the cake cool completely before crumbling it into bite-sized pieces.
- Prepare the Cream Cheese Frosting:
- In a large bowl, beat the softened cream cheese and butter until smooth and creamy.
- Gradually add the powdered sugar, mixing on low speed until combined.
- Stir in the vanilla extract.
- Add milk or cream, one tablespoon at a time, until the frosting reaches your desired consistency.
- Crush the Oreo Cookies:
- Place the Oreo cookies in a large zip-top bag.
- Use a rolling pin or your hands to crush the cookies into coarse crumbs.
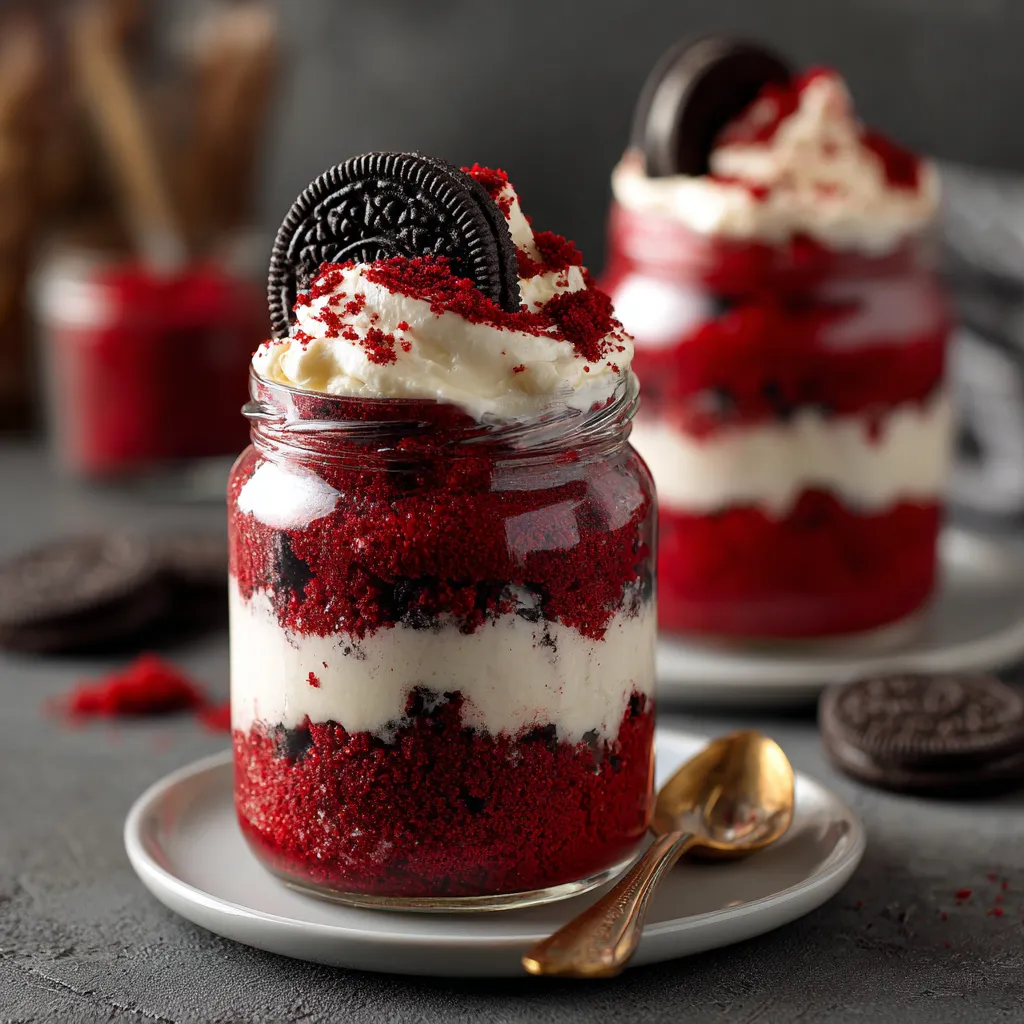
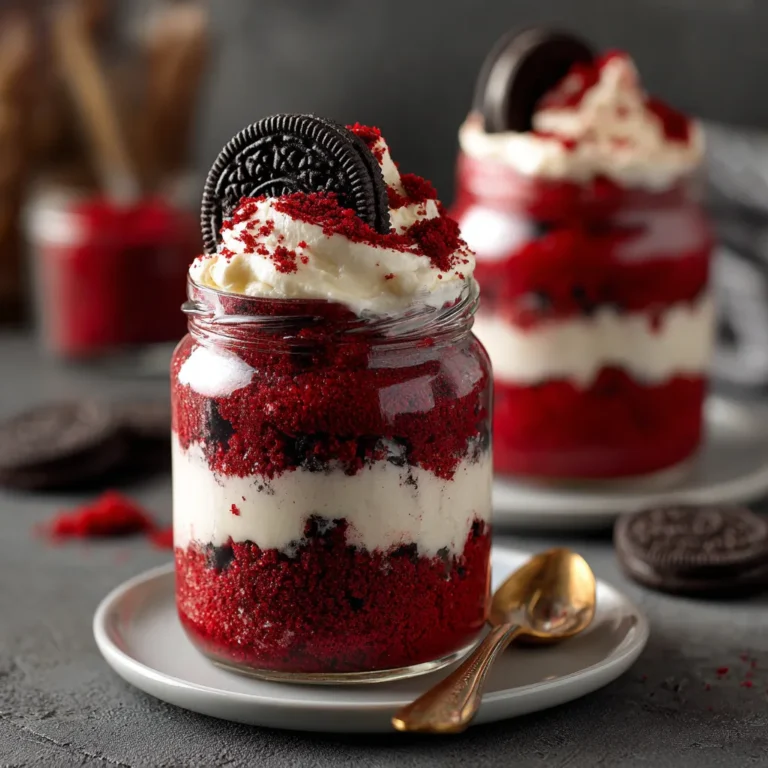
- Assemble the Cake Jars:
- Start with a layer of crumbled red velvet cake at the bottom of each jar.
- Top with a layer of cream cheese frosting.
- Sprinkle a generous amount of crushed Oreo cookies over the frosting.
- Repeat the layers until the jar is full, ending with a final layer of Oreo cookies.
- Chill and Serve:
- Cover the jars and refrigerate for at least 30 minutes to allow the flavors to meld together.
- Serve chilled and enjoy!
Tips and Tricks for Perfect Cake Jars
Want to take your Red Velvet Oreo Cake Jar Recipe to the next level? Here are a few tips and tricks to keep in mind:
- Cake Consistency: Don’t overbake the cake. A slightly moist cake is easier to crumble and will taste better in the jars.
- Frosting Texture: Adjust the amount of milk or cream in the frosting to achieve your preferred consistency. A thicker frosting will hold its shape better, while a thinner frosting will be easier to spread.
- Oreo Variations: Feel free to experiment with different Oreo flavors. Golden Oreos or Mint Oreos would also be delicious in these cake jars.
- Layering: Don’t be afraid to get creative with your layering. Add extra frosting or more Oreos if you prefer. The key is to make each jar your own.
- Storage: Cake jars can be stored in the refrigerator for up to 3 days. For the best taste and texture, consume them within 24 hours.
Customizing Your Red Velvet Oreo Cake Jars
One of the great things about this Red Velvet Oreo Cake Jar Recipe is how easily it can be customized to suit your taste. Here are some ideas to get you started:
- Add Chocolate Chips: Sprinkle mini chocolate chips between the layers for an extra chocolatey kick.
- Include Berries: Fresh raspberries or strawberries would add a burst of fruity flavor and a pop of color.
- Use a Different Cake: If red velvet isn’t your thing, try using chocolate cake, vanilla cake, or even carrot cake.
- Swap the Frosting: Try a chocolate buttercream frosting, a whipped cream frosting, or even a simple glaze.
- Garnish: Top the cake jars with a dollop of whipped cream, a sprinkle of cocoa powder, or a few whole Oreo cookies.
The possibilities are endless! Don’t be afraid to experiment and create a Red Velvet Oreo Cake Jar Recipe that’s perfect for you.

Perfect Occasions for Red Velvet Oreo Cake Jars
These Red Velvet Oreo Cake Jar Recipe are incredibly versatile and perfect for a wide range of occasions. Here are just a few ideas:
- Parties: Cake jars are a fun and easy way to serve individual desserts at parties. They’re portable, mess-free, and always a crowd-pleaser.
- Gifts: Package the cake jars in decorative boxes or bags and give them as gifts to friends, family, or coworkers.
- Picnics: Cake jars are ideal for picnics because they’re easy to transport and don’t require any utensils.
- Lunchbox Treats: Surprise your kids (or yourself!) with a cake jar in their lunchbox for a sweet midday treat.
- Holiday Celebrations: Red Velvet Oreo Cake Jars are festive and delicious, making them perfect for holidays like Valentine’s Day, Christmas, or the Fourth of July.
Prep Time: | Total Time | Kcal: | Yield:
- Prep Time: 20 minutes
- Total Time: 1 hour (including chilling)
- Kcal: Approximately 450-500 kcal per jar (depending on ingredients)
- Yield: 6-8 jars

This recipe is a surefire way to impress anyone, and it’s so easy to make that you’ll be creating these Red Velvet Oreo Cake Jar Recipe for every get-together.
Thank you for being here! I’m so glad you’re here. If you enjoyed this recipe or found it helpful, feel free to share it with your friends and family—great food is meant to be shared! Don’t forget to follow me on Facebook and Instagram for more delicious recipes, kitchen tips, and daily cooking inspiration. Your support means the world to me, and I look forward to bringing you even more tasty ideas straight from my kitchen.Can I make these cake jars ahead of time?
Yes, absolutely! In fact, making them ahead of time allows the flavors to meld together even more. You can prepare the cake jars up to 2-3 days in advance and store them in the refrigerator until you’re ready to serve them.
Can I use a store-bought frosting instead of making my own?
Of course! If you’re short on time, feel free to use a store-bought cream cheese frosting. Just make sure it’s a good quality frosting that you enjoy the taste of. You can also add a touch of vanilla extract or a pinch of salt to enhance the flavor.
What if I don’t have jars? Can I use something else?
No problem! You can use any clear glass or plastic containers that you have on hand. Small bowls, cups, or even trifle dishes would work well. Just make sure the containers are clean and dry before you start layering.
Can I freeze these cake jars?
While you can freeze them, the texture of the cake and frosting may change slightly upon thawing. If you do freeze them, wrap them tightly in plastic wrap and place them in a freezer-safe container. Thaw them in the refrigerator overnight before serving.
Can I make this recipe gluten-free?
Yes! Simply use a gluten-free red velvet cake mix and gluten-free Oreo cookies. Many brands offer gluten-free alternatives these days, so it should be easy to find suitable substitutes.
Easy Red Velvet Oreo Cake Jar Recipe MUST TRY
Craving red velvet This easy Red Velvet Oreo Cake Jar recipe is a MUST TRY Simple steps delicious layers Perfect singleserve dessert tech
- Total Time: 1 hour
- Yield: 6–8 jars 1x
Ingredients
Instructions
- Prep Time: 20 minutes
- Cook Time: 40 minutes
- Category: Dessert
- Cuisine: American
Nutrition
- Calories: 475 kcal
- Sugar: 40 g
- Fat: 25 g
- Carbohydrates: 60 g
- Fiber: 2 g
- Protein: 5 g